
Trussing a chicken is done as long as baking and roasting the meat has been around. However, the process might look complex to many novice cooks. Don’t worry! We will guide you on how to truss a chicken. With this tutorial, you will have a stunning roast in no time.
What is Trussing the Chicken means?
If you are new to the process of roasting, the term trussing might be new to you. Trussing refers to tying up the wings and legs of the whole chicken to secure it. Most of the time, the process of trussing the chicken includes using twine.
Twine in itself is a potent kitchen tool. It does not burn or have any flavoring effects on the meat. It holds up the heat and is not prone to sticking and burning through the flesh.
There are reasons why the process of trussing is prevalent and vital when baking chicken. It is an excellent way to hold the aromatics and herbs stuffed in the chicken. The secure legs and wings also provide a more even cooking as the meat does shrink.
Although it looks complicated at first, trussing can be pretty straightforward. The process can take less than a minute if you already know the steps.
This process focuses merely on the chicken as meat. However, you can still use the step-by-step process for whole turkey meat. The trussing of turkey also has the same benefits prevalent in the trussing of chicken.
Trussing is commonly done for baking or roasting the chicken. It’s a perfect way to keep the chicken intact, as you cannot monitor it inside the oven or barbeque grill.
Now that you know the background of trussing as a process let’s get into the steps to truss a chicken.
How to Truss a Chicken? (Step-by-Step)
To truss a chicken, you will need the following:
- Twine
- Whole Chicken
- Scissors
- Chopping Board
- Paper Towel
- Aromatic and Herbs (Optional)
Step 1: Clean the Chicken
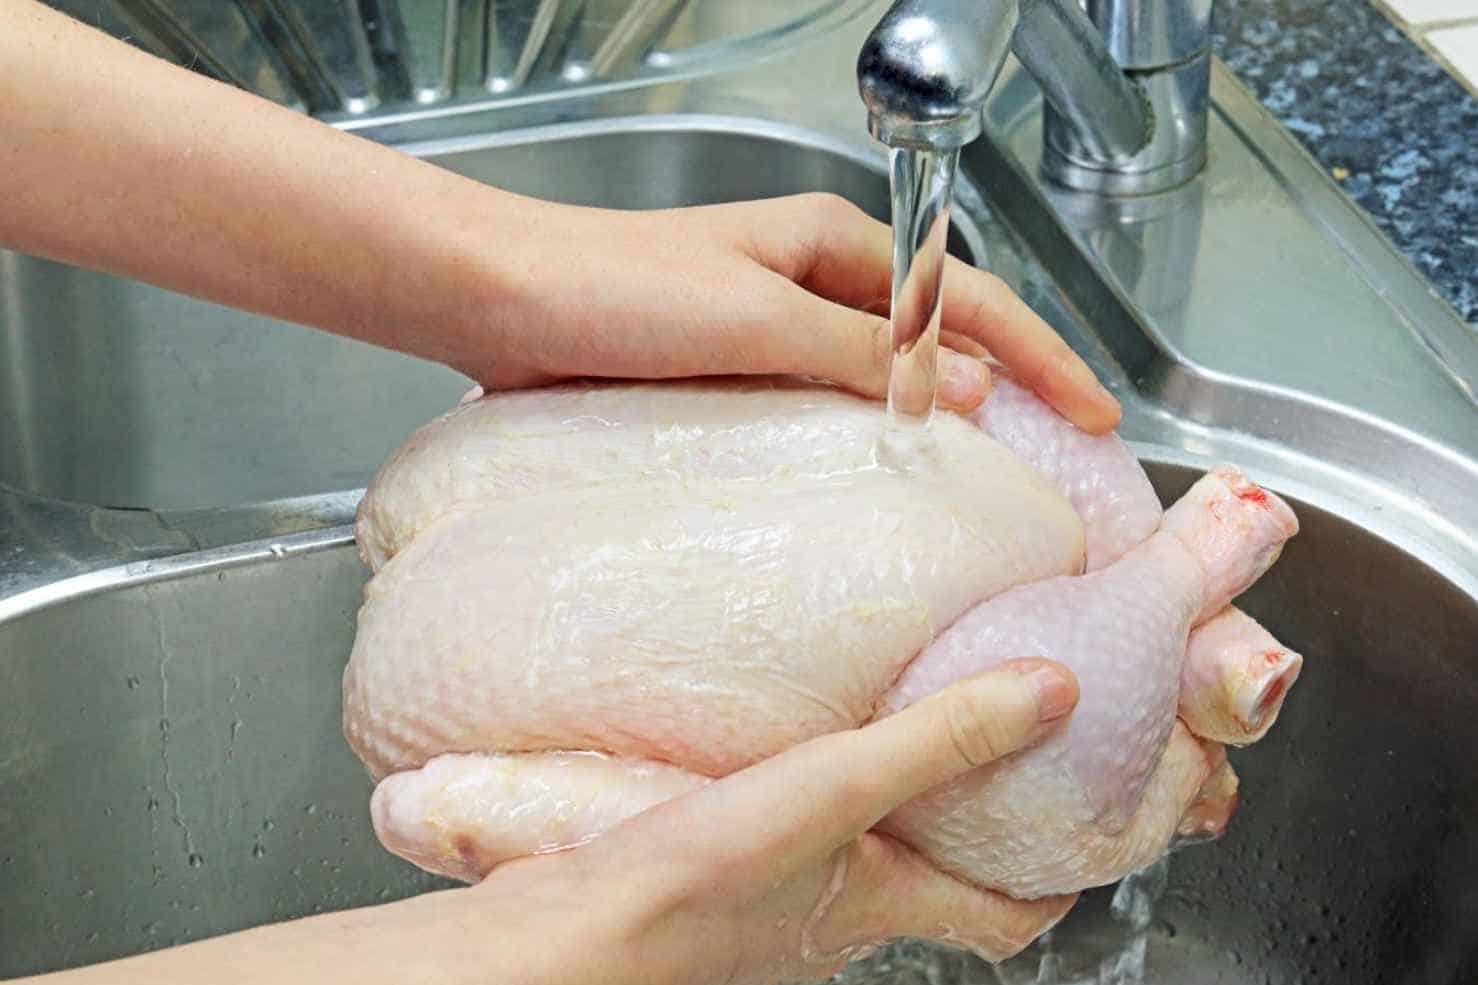
The first step in trussing the chicken is preparing the meat itself. While most whole chickens are already gutted, you might still need to clean the meat with water. After cleaning the meat, patting it dry with some paper towel is the finishing touch.
Step 2: Prepare the Chicken
After the chicken is pat-dried, you can stuff it with your chosen aromatics and herbs. You should also season the skin of the chicken before trussing it.
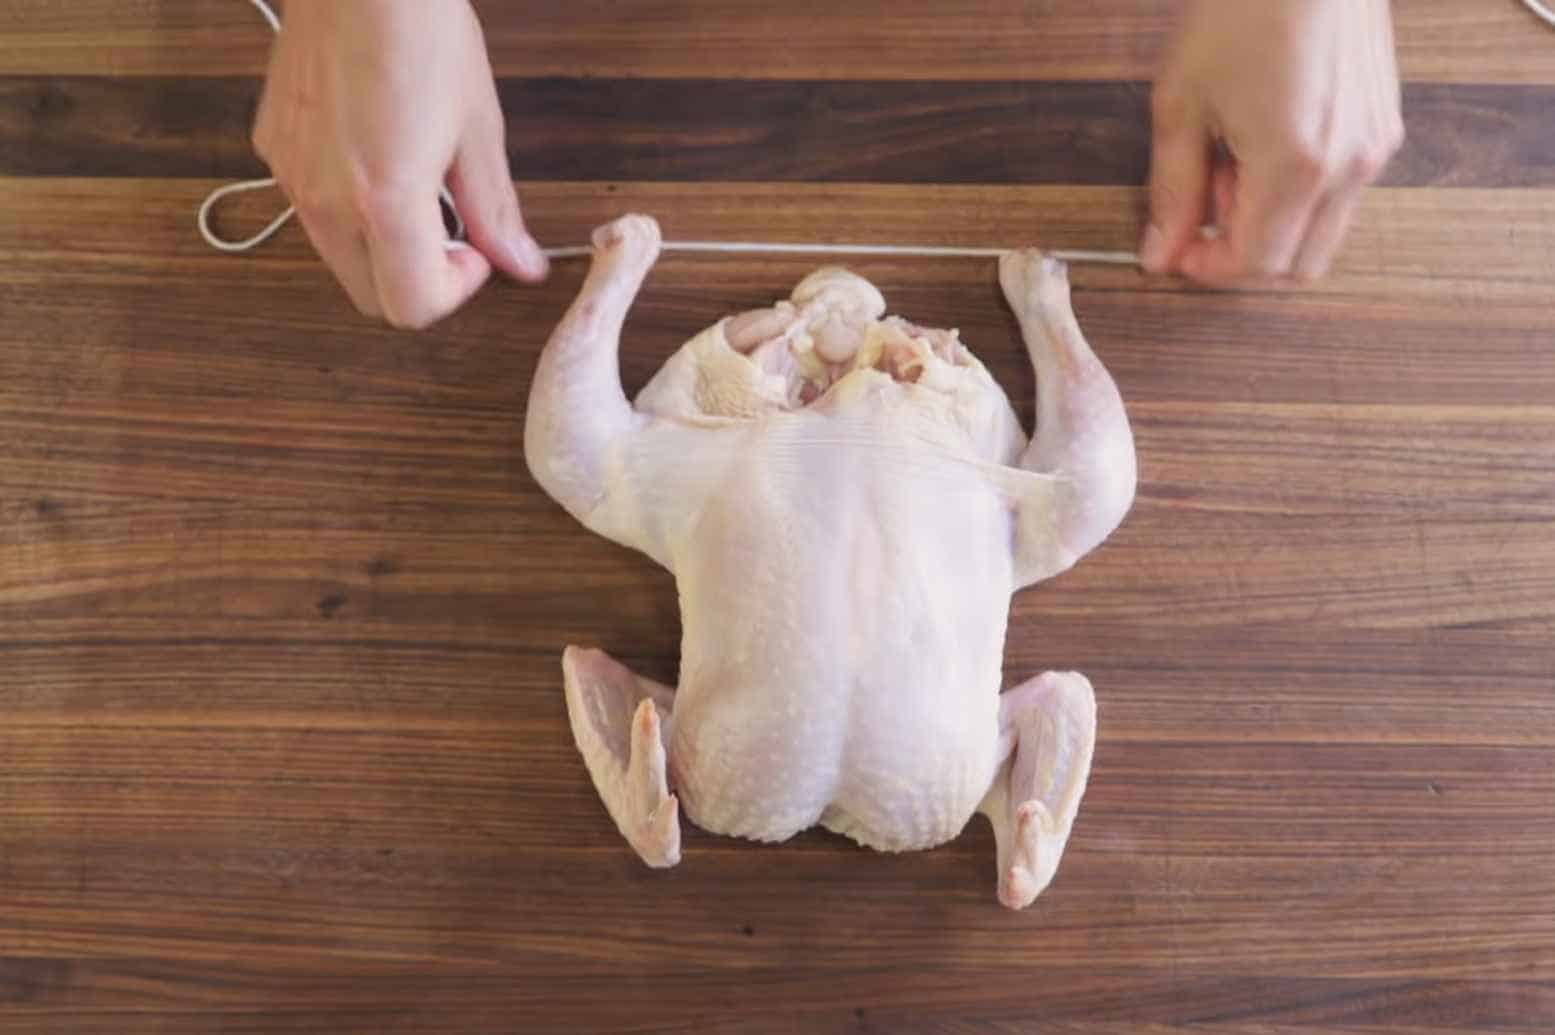
Step 3: Place the Chicken Leg Up
In your cutting board, place the chicken with its leg side up. You would want the legs of the chicken facing your direction for better access.
Step 4: Run the String Under the Chicken
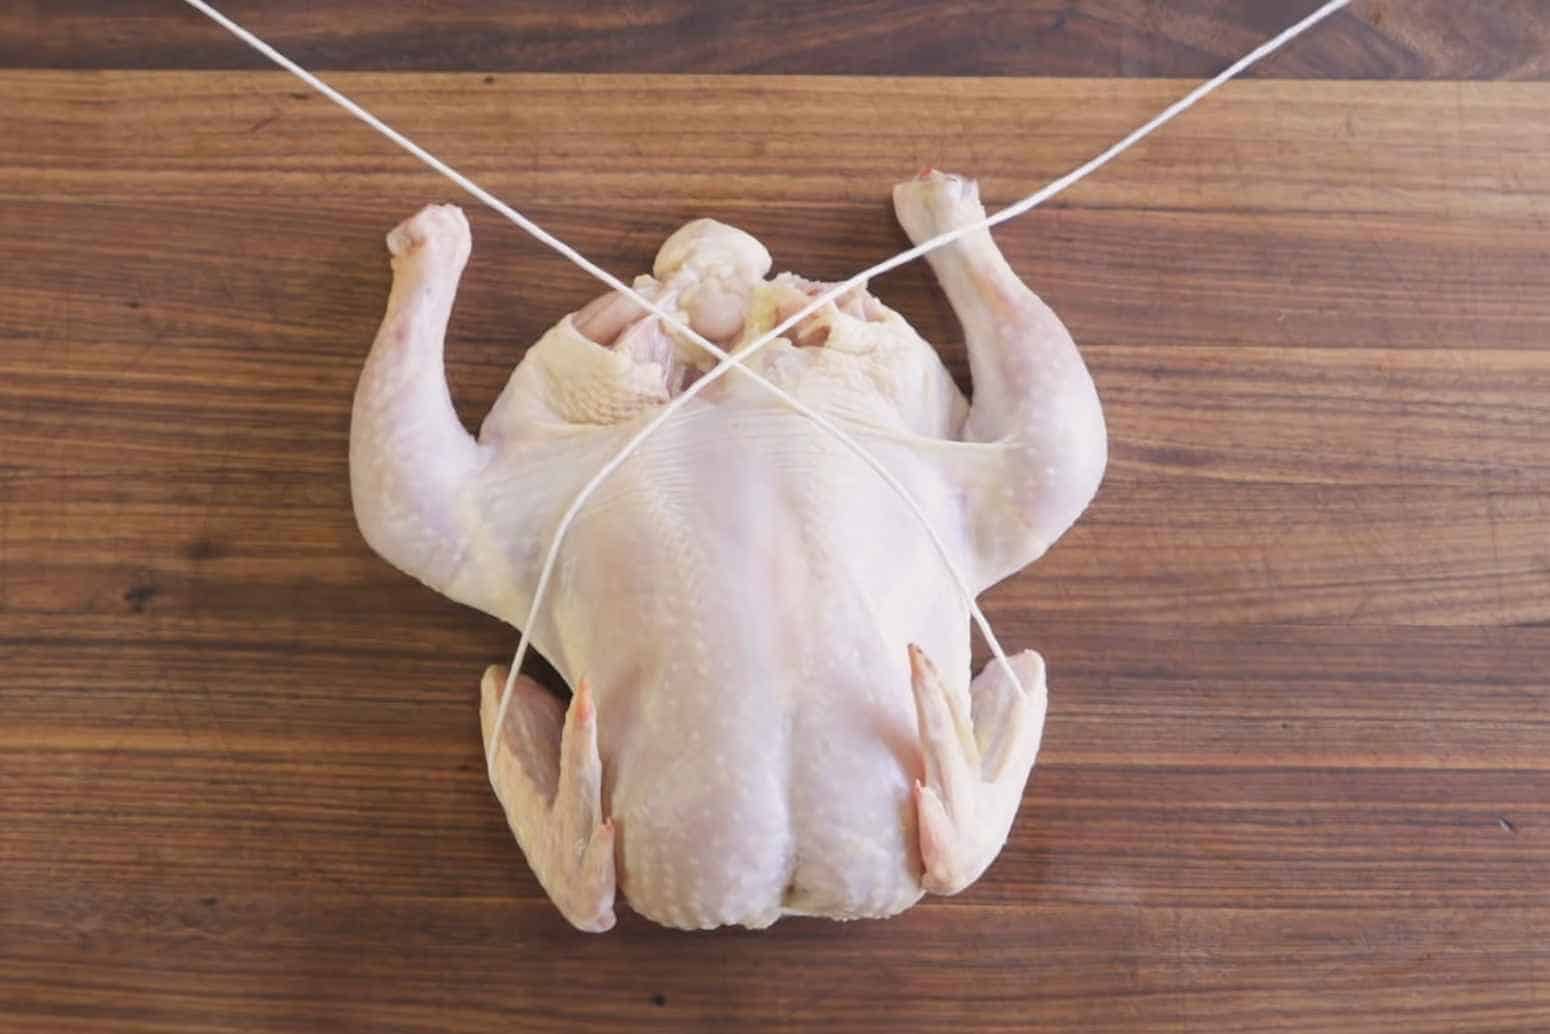
Then, run the string from underneath and make the two ends come from both sides of the wings.
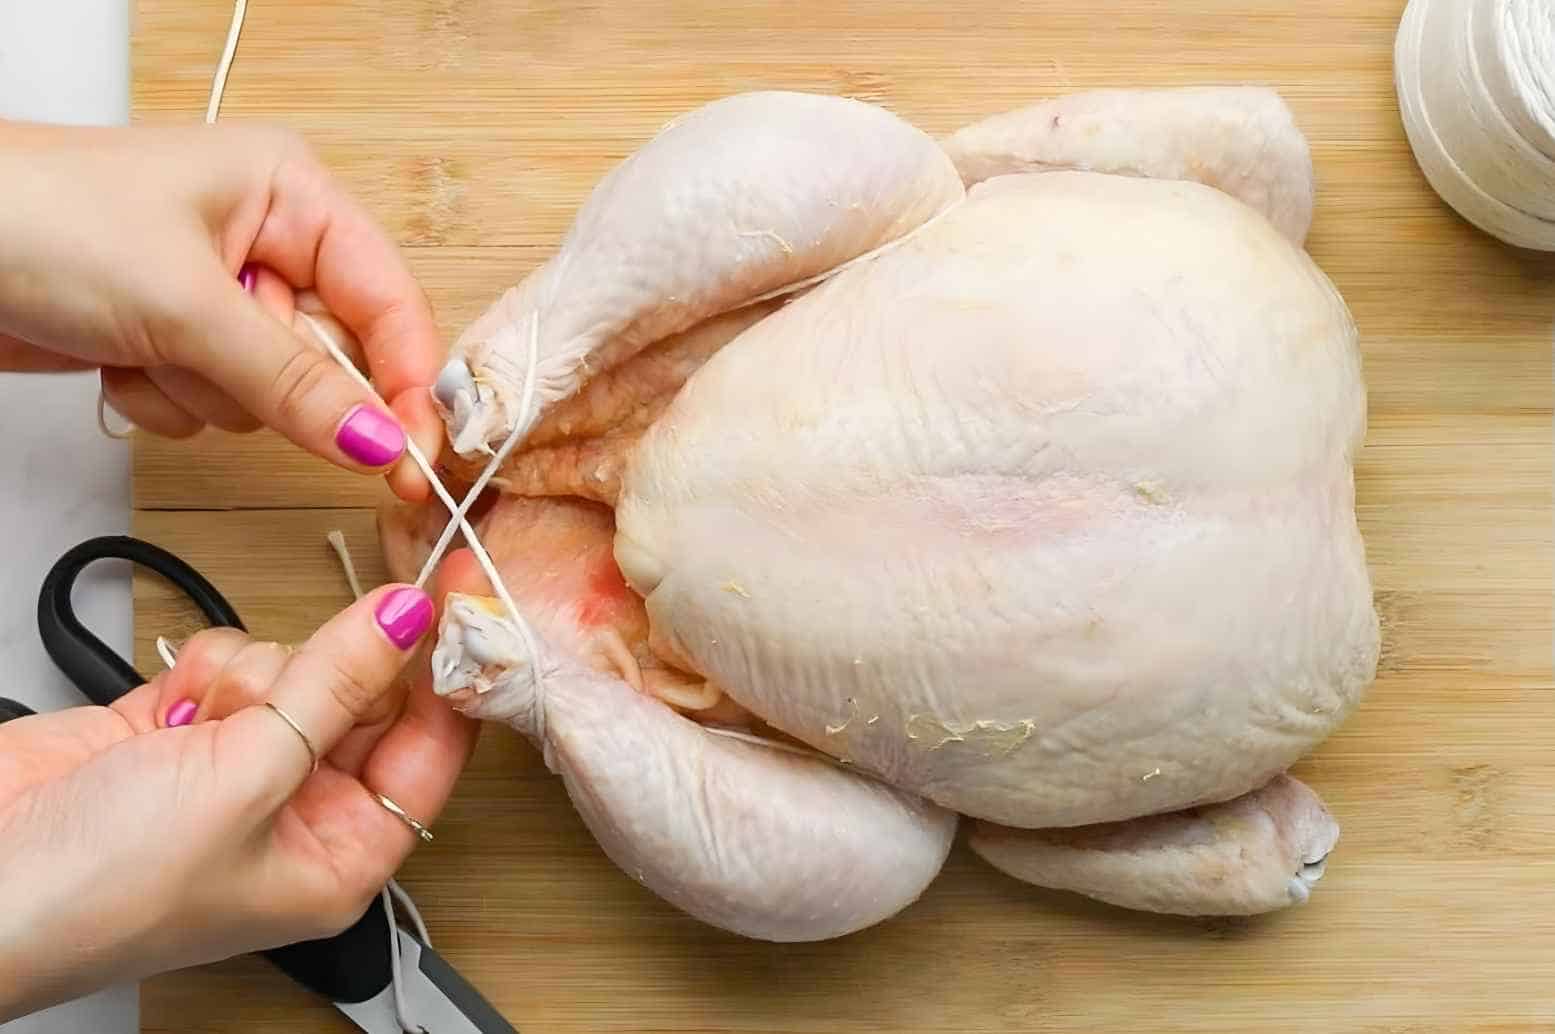
Step 5: Roll the String Around the Base of Each Wing
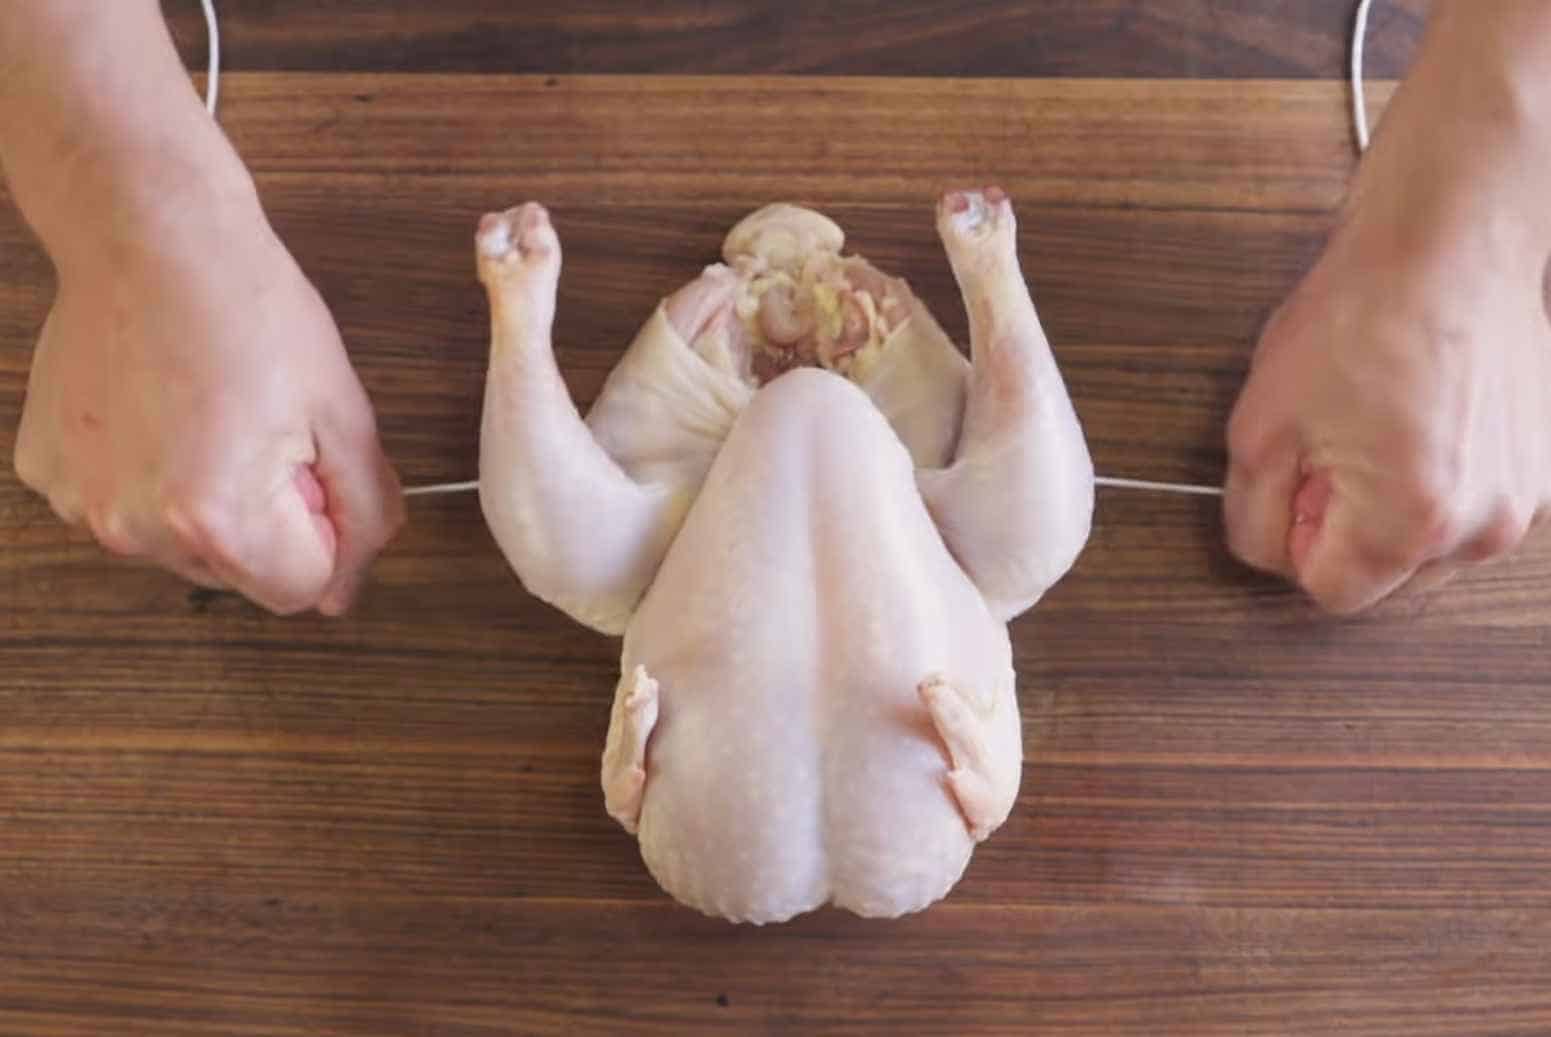
Now that the strings appear on both sides, you can start tying. Tightly roll the twine once around the base of each wing.
The string must also come on top when the tie is done. Be sure to tuck the tips of the wings on the side of the chicken to keep it from burning.
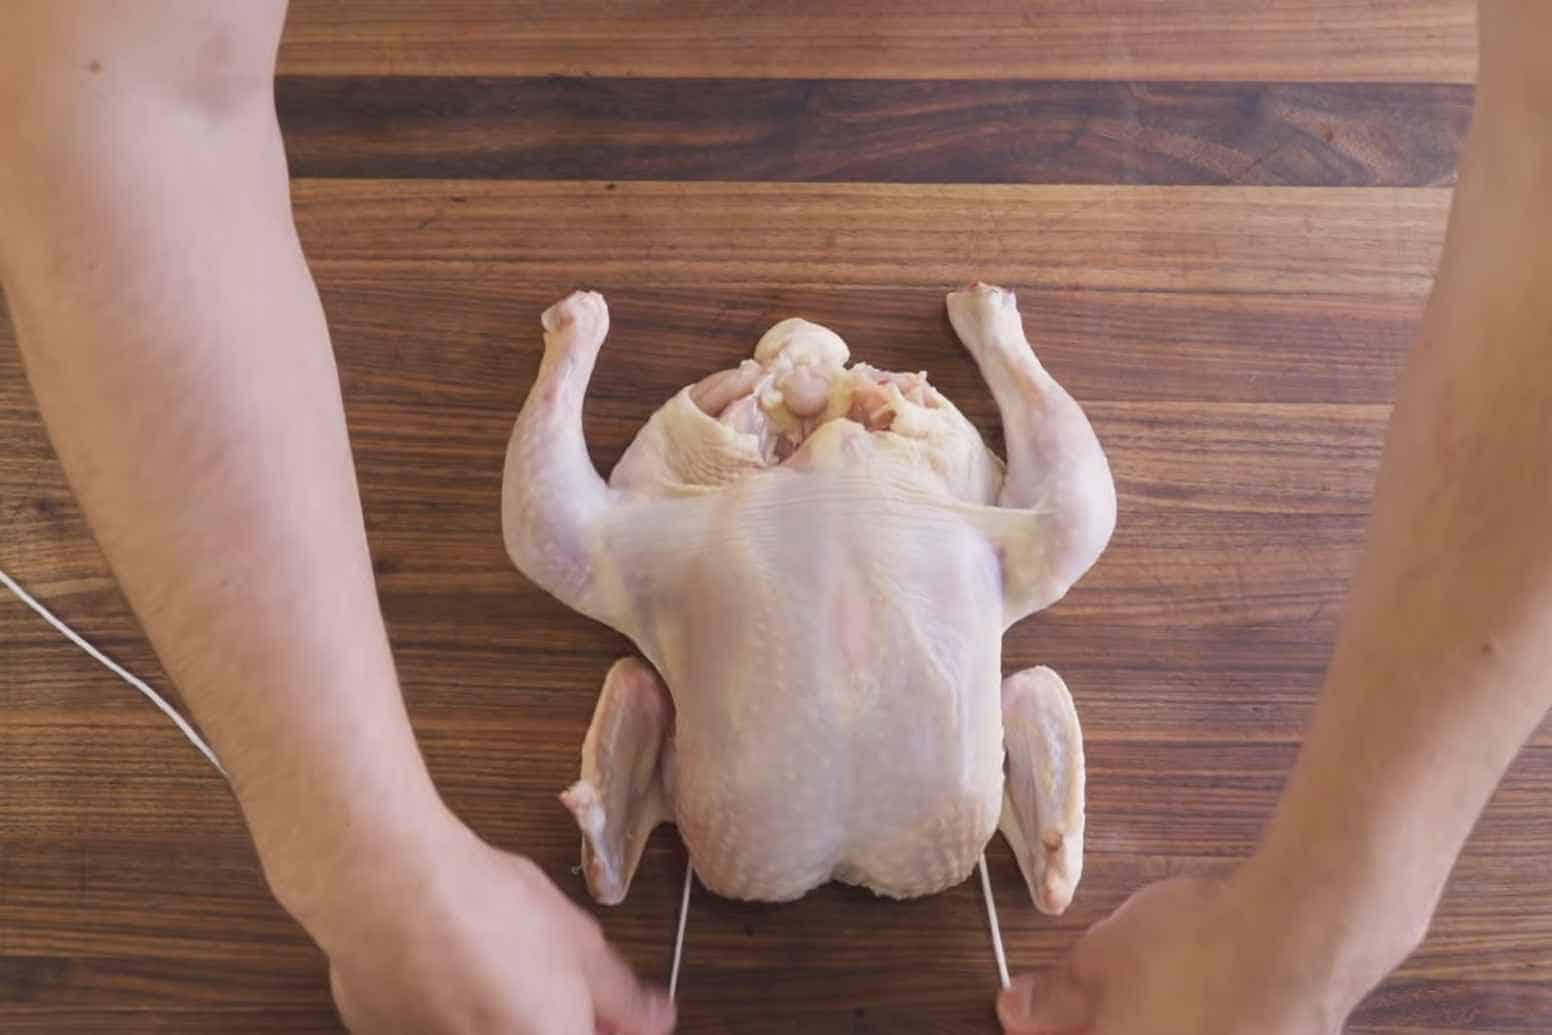
Step 6: Tighten the String at the Base of the Breast
Held the two sides of the twine and tightly pulled it down towards the base of the breast towards the legs. Then, tightly secure it around the bottom of the thighs.
Step 7: Secure the Thighs Together
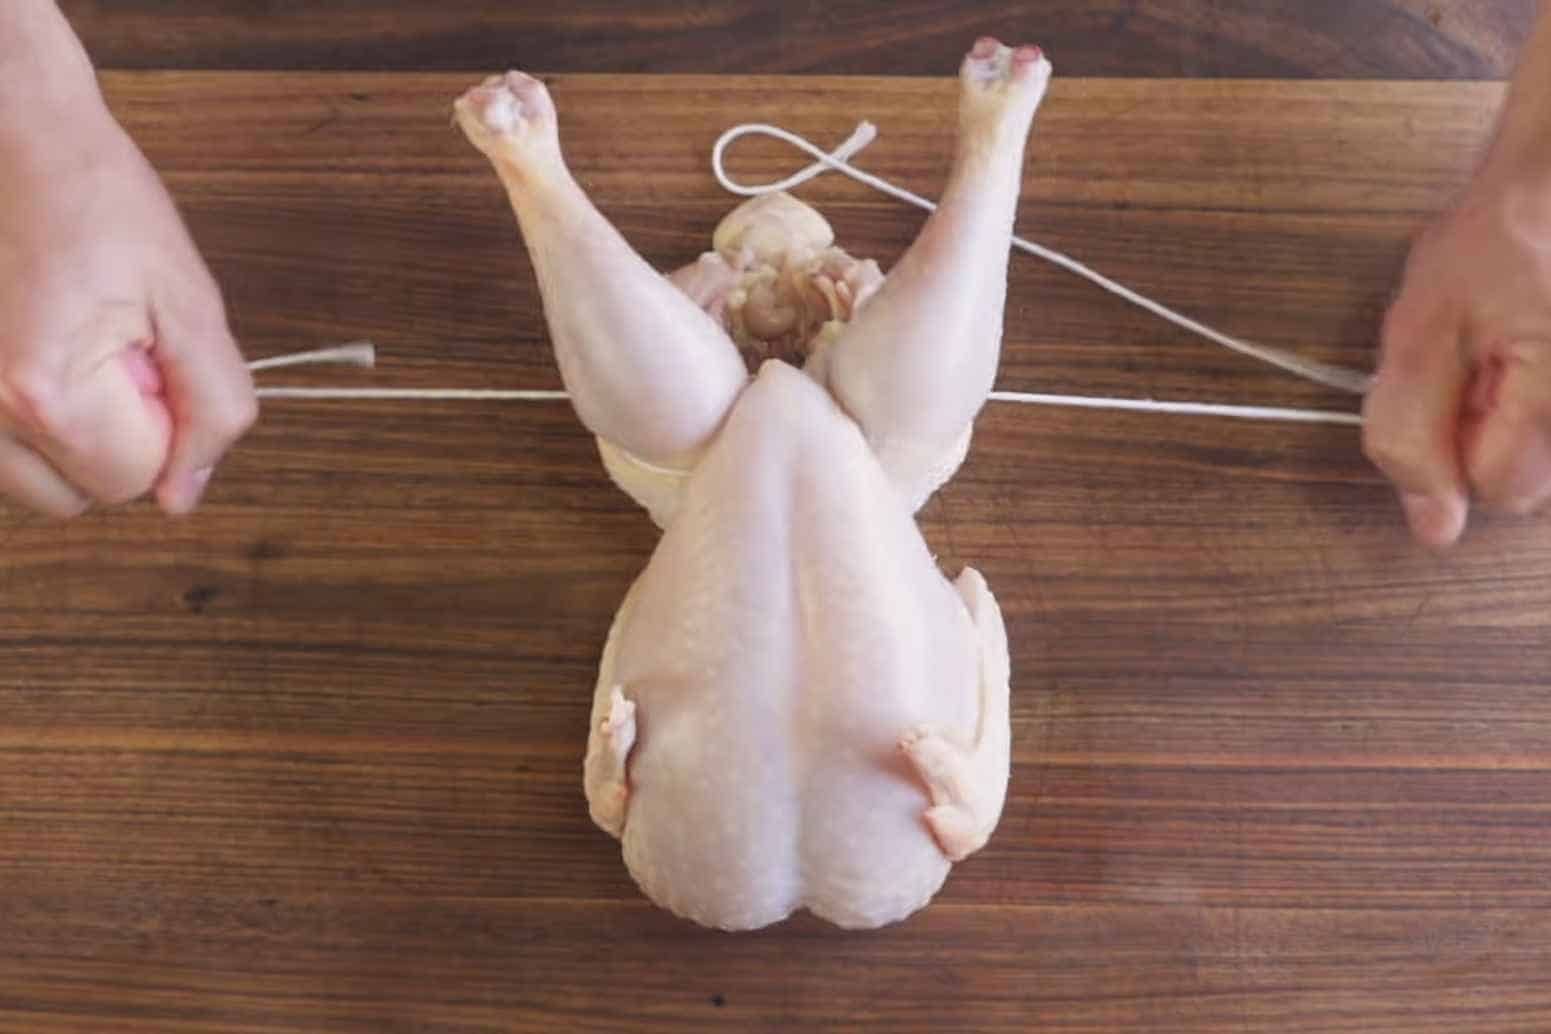
Now that the wings are secured, the thighs are the next. Since the string will end up on the back side of the chicken, you will need to roll it around so it will come out on top. Then, tie the leg joint of the chicken together.
Step 8: Cut the Twine
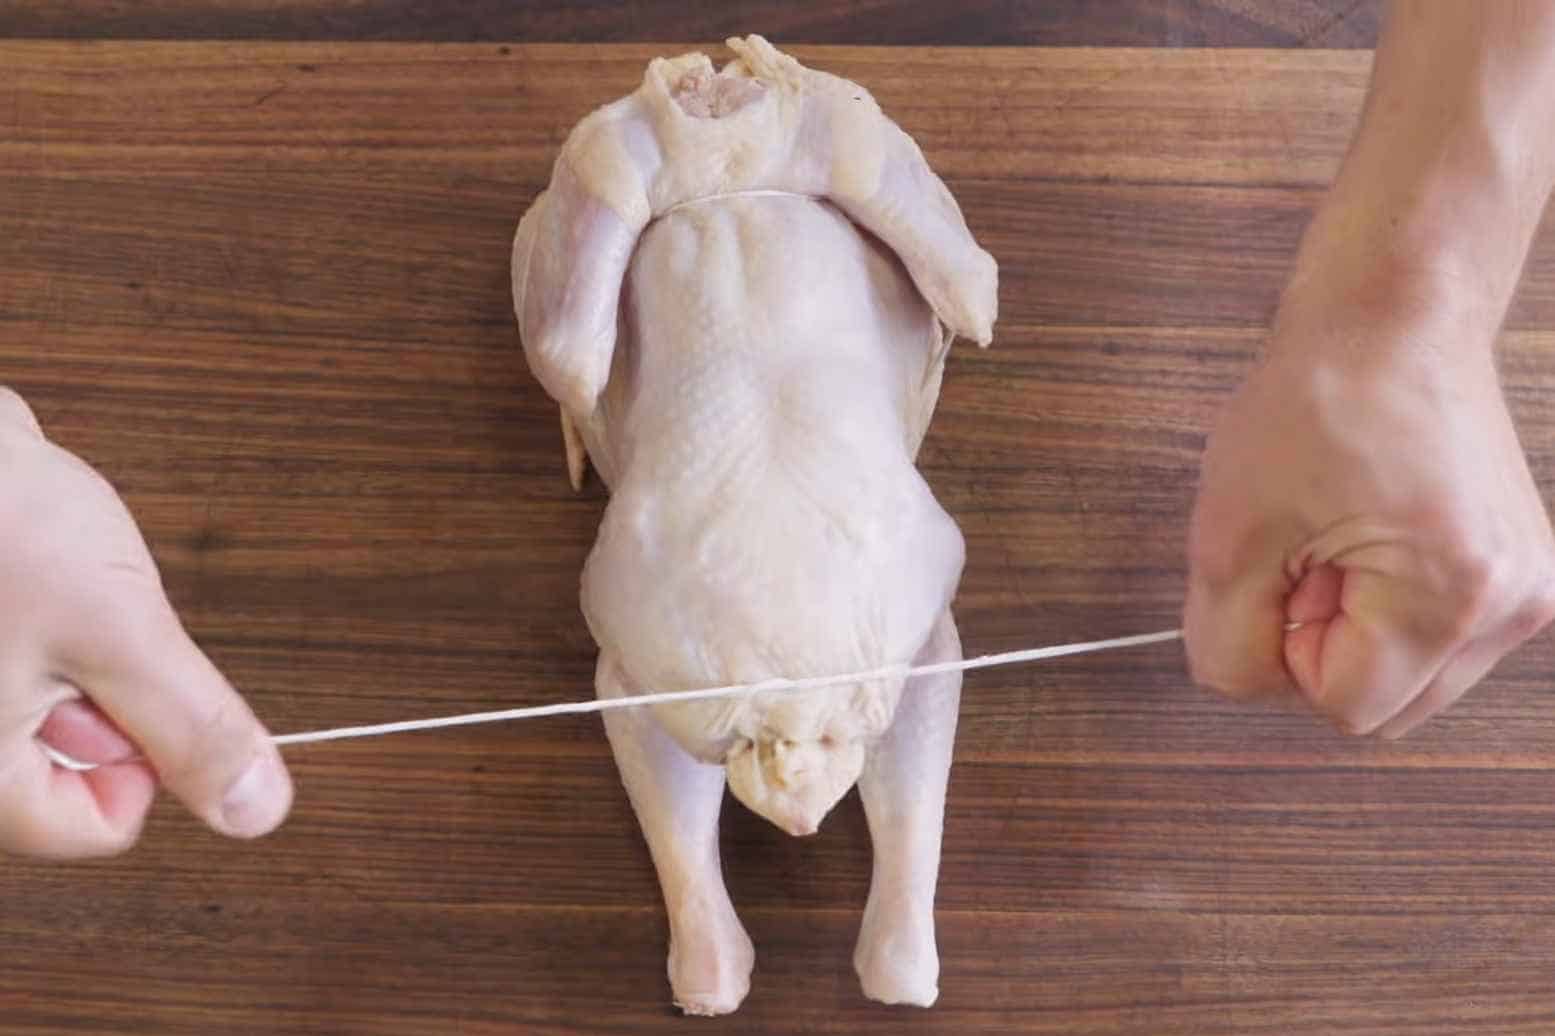
Now that the chicken is secure, make a tight knot at the joint of the leg and cut the twine.
That’s it! You successfully trussed your chicken, and it’s ready for some roasting.
What Can You Use Instead of Twine for Trussing?
Twine is the fundamental part of the trussing process. It lets the process start through its strong fibers that will not burn off and ruin your meal. However, twine and kitchen strings are not always available in the kitchen.
With that said, here are some trussing alternatives to ensure you can still have that delicious and excellent chicken roast.
Use a Dental Floss
Dental Floss is great for evenly cutting cakes in the kitchen and can also come in handy with trussing a chicken. However, ensure that you will use the unflavored variety, as floss can sometimes come with mint flavorings.
When using dental floss, you just need to do the same process as you would with twine. Make sure that it’s long and will hold the chicken’s shape.
Use the Skin Flap of the Chicken
If you are in the process of trussing a chicken and you don’t have any string available, there are some ways where you don’t need any.
If you observe the whole chicken, two large skin flaps at the base of the leg and the lower breast part. This solution will salvage your roast if you don’t have any usable kitchen twine.
Using a knife, cut a small incision on each flap. Make sure it’s just big enough to fit the joint of the chicken leg. Then once there is a cut, insert the joint of the leg opposite to the incision.
It means the left leg will go to the proper cut and vice versa. Once you insert the chicken leg, it should result in tightly crossed legs. Then, you will tuck the wings to the side to keep them from burning.
This method will mimic the tightness of the string while not using any. However, be careful in tearing too much of the skin as it can cause the legs to pop open.
You can watch this trussing video if you still need some assistance.
Do You Need to Truss the Chicken?
Trussing the chicken isn’t necessarily a need to cook it. The chicken can still cook and be edible when trussing is not involved. However, it can provide many benefits to the taste and texture of the chicken.
When it comes to any poultry or bird meat, white meat and dark meat are often in mind while cooking. White meat generally pertains to the breast part of the chicken, while dark meat is located in the legs.
The meat is where the effect of trussing becomes very prominent. When you truss the chicken, the area around the legs becomes a lot more compact. It leads to the white meat and dark meat cooking evenly simultaneously.
Untrussed chicken is prone to having drier breast parts. The dark meat is still in the process of cooking when the breast is already not juicy due to the heat. So, the breast is long overcooked before the inside of the legs is.
Benefits of Trussing the Chicken
As the earlier parts of the article say, you don’t necessarily need to truss the chicken. However, it provides many benefits that lead to its use in cooking.
Even Cooking
Tying up the chicken, it can make up for even cooking. The chicken’s skin and flesh will be much more compact, leading to better heat circulation.
It also lessens the risk of the wings and leg joints burning. These parts are susceptible to burning as they contain less meat. So, if you want to enjoy some crispy and delicious roasted chicken wings, trussing your chicken will significantly help.
It also minimizes the chance of not getting the insides of the chicken to cook. When the heat cannot penetrate the chicken evenly, it can leave some of the spots to be uncooked.
Secure the Aromatics and Herbs
Tying up the limbs and legs together provides an excellent benefit to absorbing aromatics and herbs. Most of the time, these ingredients are stuffed inside the chicken.
Trussing the meat can create an enclosed space where it can seep into the flesh. The process makes delicious and very flavorful meat, even from the inside.
Leads to a Tighter and Crispier Skin
Even cooking is achieved by holding the meat together more compactly. But an uncooked inside spot of the chicken is not what you’ll only have.
An evenly cooked chicken meat can lead to crispier and tighter skin. You also eliminate the risk of burning the wings and lower parts of the joint if you truss your chicken.
That’s it! Those are the most important and remarkable benefits of trussing your chicken. Not only that, but the meat’s compact look is also aesthetically more attractive. It provides a very flavorful look both in taste and appearance.
In Summary
Trussing a chicken might look complicated and much work at first. However, this guide shows you how to do it very detailedly. With several alternatives and an in-depth look at the process, this article has everything you need to know about how to truss a chicken.
